
First of all you will need to grab yourself a copy of “Tiled”. This program is a simple Tile based map maker/editor, perfect for making our game maps.
Next up you will need to find yourself a tileset, now this is where it can a little bit tricky. Due to the way the code of the game is written the size of the tileset must be below that of the Psp screen size (470 x 272).
To make things a little easier for you I have added one of my Tilesets to this post and the download link can be found at the bottom of the page.
Now upon opening Tiled you will be greeted with the following window:

Next click on the icon at the top to make a new map.

The popup shown above shows you the setting you must be on for the map to work correctly. The map size setting is obviously adjustable but should not exceed 150×150 tiles.
Next up we are greeted with the following screen:
From the above screen we must now add our Tileset. To do this we simply drag, our image on to the tilesets toolbar on the right hand side like shown below:

Make sure the setting are the same as above and then click “Ok” on the popup above, and then the Tilset will be displayed on the right hand toolbar.
From here we just click on a tile we want, then click it down on the map where we would like it be place like below:

After a short while of clicking away placing tiles where you want them, you soon find yourself building maps like the one I have built below, which only took about 20mins from scratch.
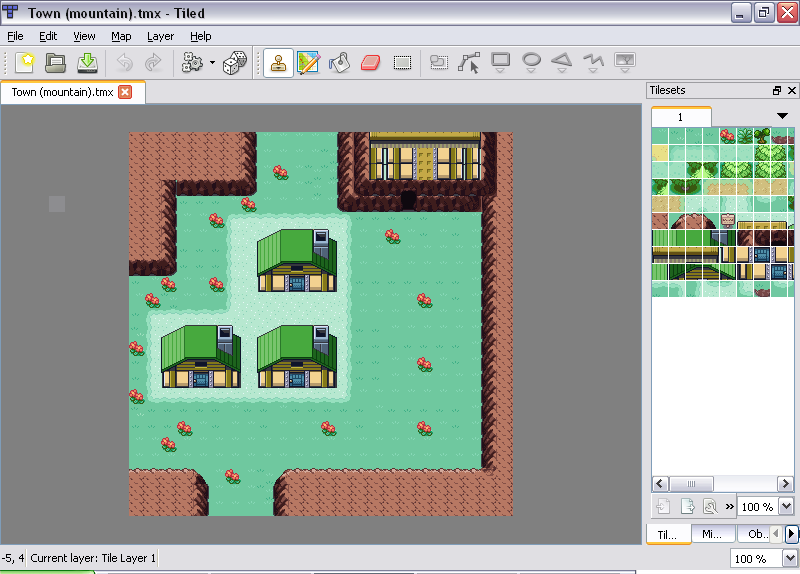
Some of you may find the above town somewhat familiar, and you would not be wrong. This is now coming up to the important bit.
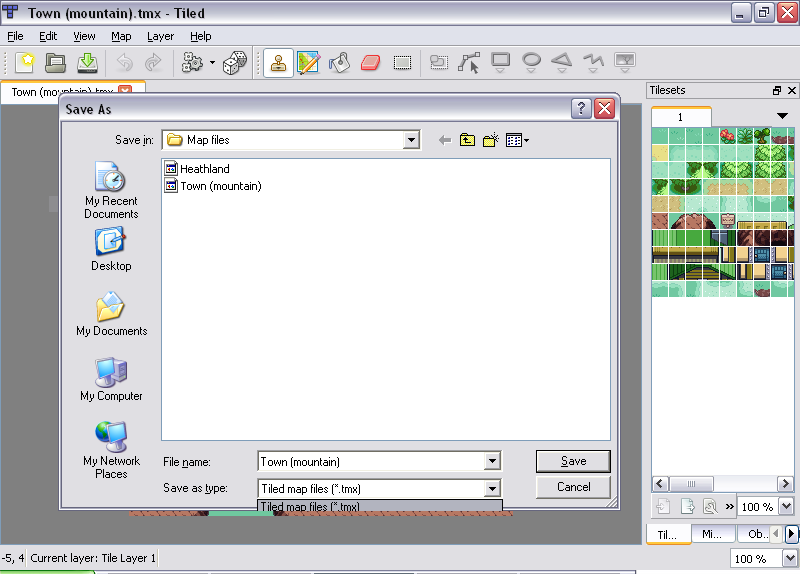
In order for the map we have built here to work with the game we must do two things, first of all we must save the map by going to “Save As” in this case we have called the Map “Town(mountain)” as you can see from the image below we are saving this as a [.tmx] file. Once again, make sure you are saving it in exactly the same way as I am doing.
Next up we need to go to the “Export As” option from the drop down file list and as you can see from the image below we have selected “Lua files (*.lua)”

Now you have successfully built a map for Pokemon on Psp, all you have to do now is put the files you created, and the tilset you used into a zip/rar folder and send them to us so that we can put your marvelous creations into the game!
Just to make it really really clear, the file you need to put in the Rar/Zip file are as follows:
- Tilset that you used
- *.tmx file of the saved Map
- *.Lua file of the Exported Map
Lets see what you can all do!
Here is a link to my Tilset I am currently using:
And to make it easier for you, I will also link you to the download of Tiled here:
No comments:
Post a Comment